ReDEUX: second-hand objects enjoying a second life

ReDEUX projects generally cost no money.

ReDEUX projects have caused me to knock on strange doors and ask for people's trash off the street.

ReDEUX projects make me happier than anything.

Objects always have the potential to be repurposed.

Entries in Home Decor (18)

Friday
Jun052015

Embellished Kitchen Towels $cost of towel

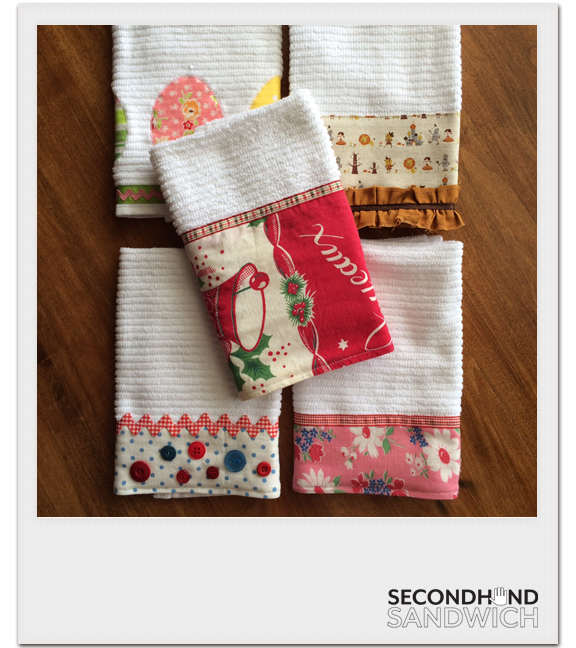
My sister Suzette sewed me a set of kitchen towels for my birthday to be used for holidays throughout the year. She embellished each towel using scraps from her sweet stash of vintage and imported fabrics (Fabrics Anonymous, she's a member, it's an issue). She also has quite the button collection. We often lament the fact we don't live in the same state because we would have a ball making things together.

She bought the white kitchen towels at Kohl's. They are the Food Network brand. They are super squishy and nice to dry hands and dishes on.

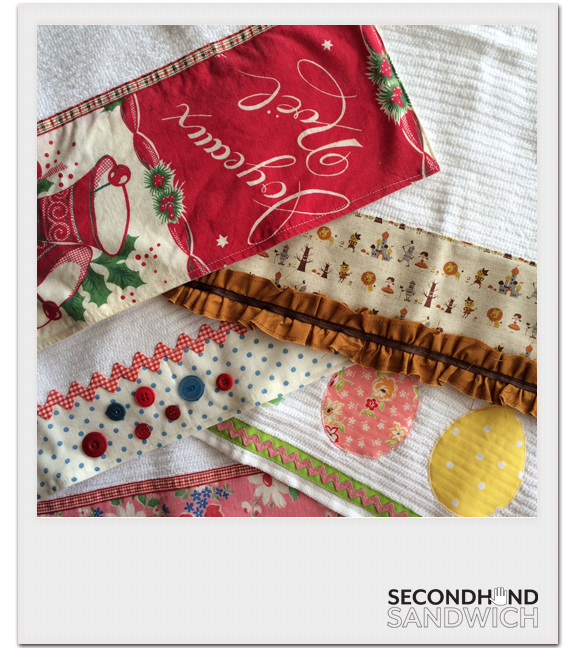
Stitching rectangles of scraps and ruffled ribbon on towels! Genius! Why did I never think of this?! It's the perfect gift because everyone needs kitchen towels.

Embellishment Notes:

Christmas towel: made from the bottom of a vintage apron (my favorite, look at that typography)

Halloween towel: made from Japanese import Wizard of Oz linen (I die! I die of cuteness!)

4th of July towel: made from vintage feedsack, new and old buttons

Valentine towel: made from vintage feedsack

Thursday
Oct092014

Cloth Napkin Tablecloth $0


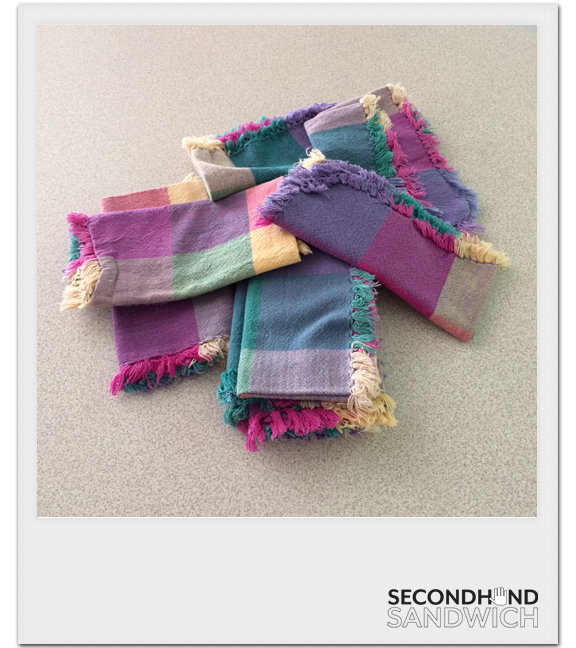
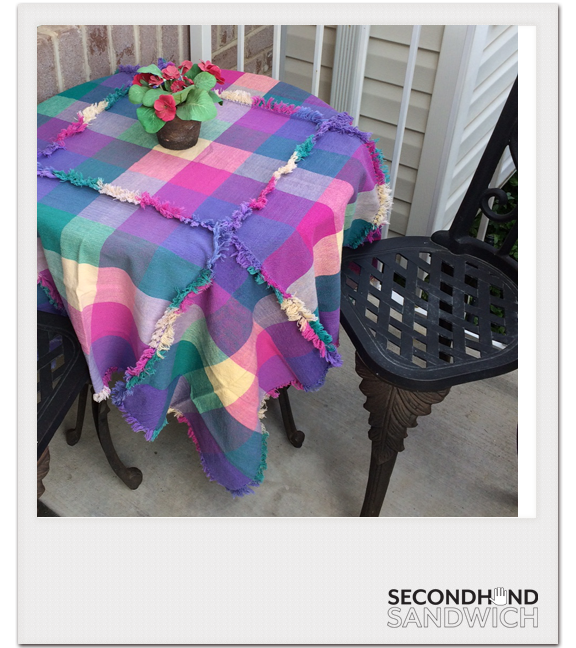
Before you mock my color palette let me gently remind you I registered for these napkins at Dillard's as an engaged bride-to-be in 1997. I was not about to get rid of these babies ALL the way. So I sewed them together and made a tablecloth for my bistro table on the porch. The sun already faded them nicely...they'll be a whole new color scheme in a few years' time.

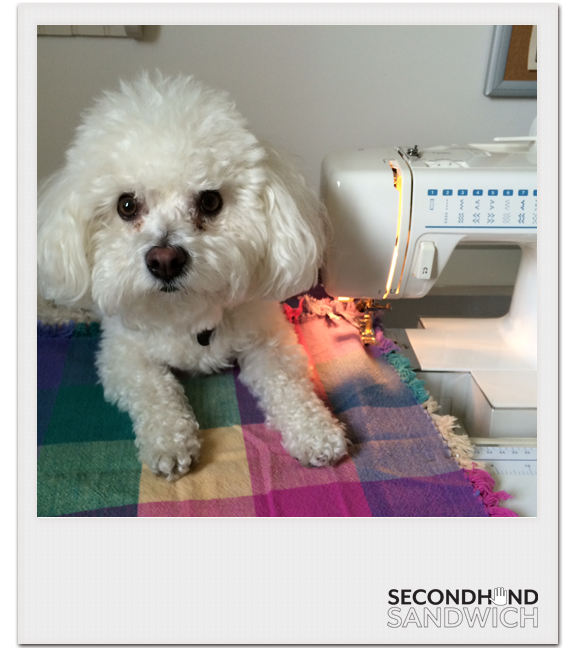
This used 9 napkins. (Good thing I registered for 12!) I sewed them into three strips 3 napkins long, and then sewed those 3 strips together. Because my napkins had frayed edges I left the seams facing out for that "rag quilt" look to it.

This would also work with bandanas.

Disclaimer: you do NOT need a Bichon Frise to rest on your project while you sew it. That was just a lucky bonus for me. That Lucy is one serious pack animal.

Tuesday
Nov192013

Foam Plumber's Tubing = Wreath Form <$1

My friend Mia made a wreath like this from Better Homes and Gardens' website. I can't find the link, but this shows you how to wrap yarn around a foam wreath form in a Christmas version. Just scroll down to the white wreath with a twig of berries shooting out of it.

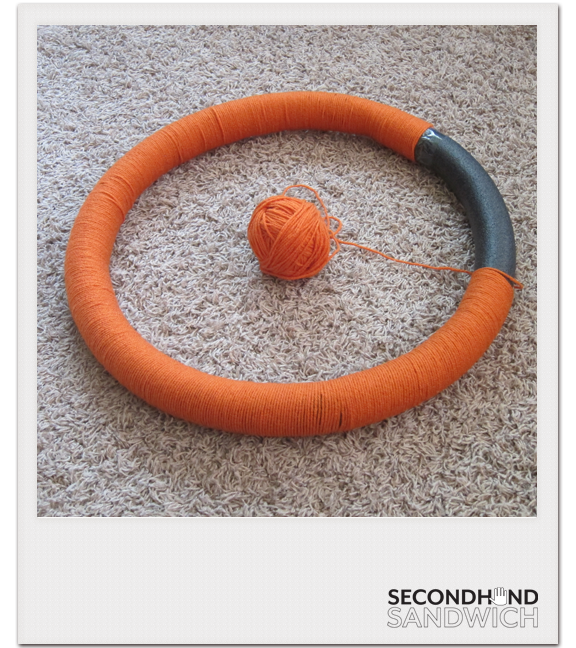
I had seen online that you can buy 6' of plumber's tubing at Home Depot for less than a dollar and make your own wreath form. So I did it. Super easy. I trimmed it a bit and taped it with packing tape.

So tape up your plumber's tubing and get started!

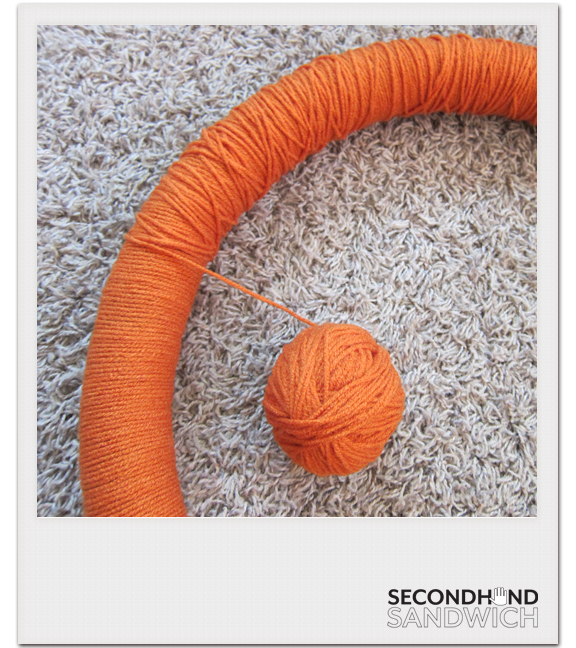
I wrapped the first round with "clean" lines.

I did "messy" lines the second round.

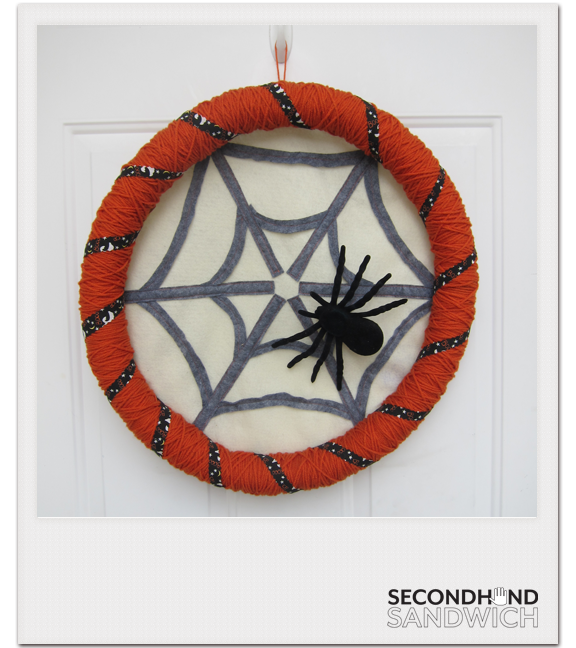
I had some random black Halloween ribbon (given to me years ago by a neighbor who was cleaning her basement) that I cut with pinking shears and wrapped around for a little contrast.

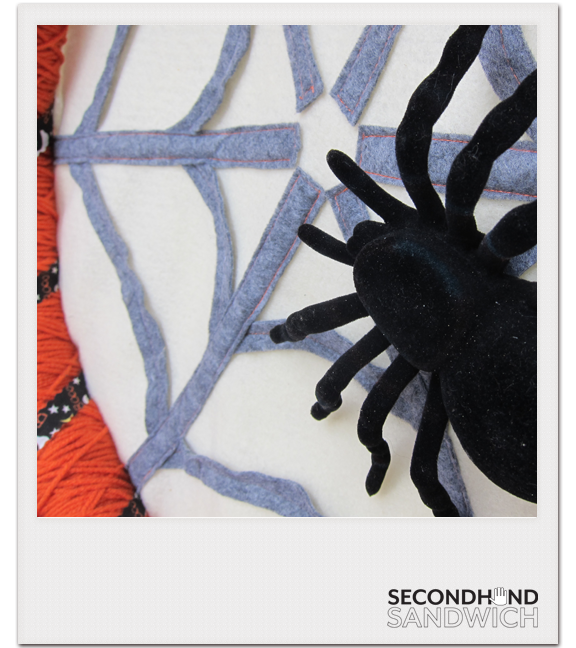
RE helped me sew a spiderweb of felt and we hot glued it to the back of the wreath.

Then we used epoxy to affix the spider to the wreath. He is not coming off. Ever.

I was super happy about this project because I was able to use up the rest of my orange yarn that is too ugly to use for anything other than a Halloween project. The felt was leftover from RE's S&P shaker Halloween costume, and the spider was in our Halloween box but never appropriately used indoors. I like cheap door decorations because if they get worn out and weathered it's not a sad day when they have to be thrown away.

Now go use up all the spare yarn in your house. Go!

Friday
Jul262013

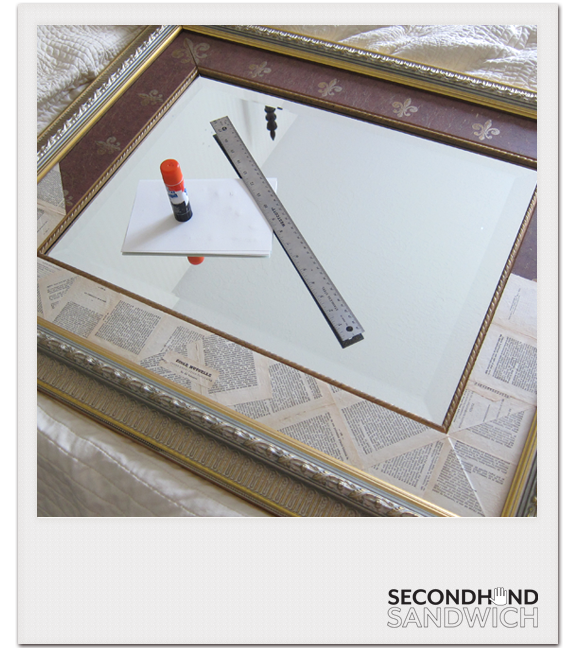
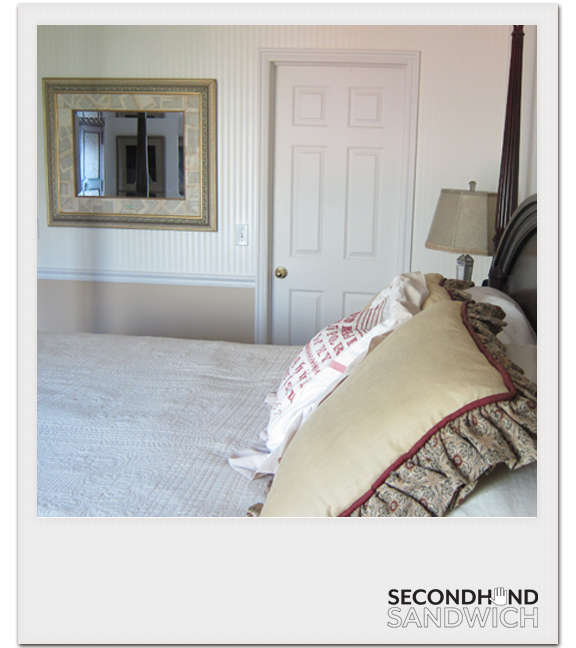
Mirror Enhanced by Pages of French Text $0

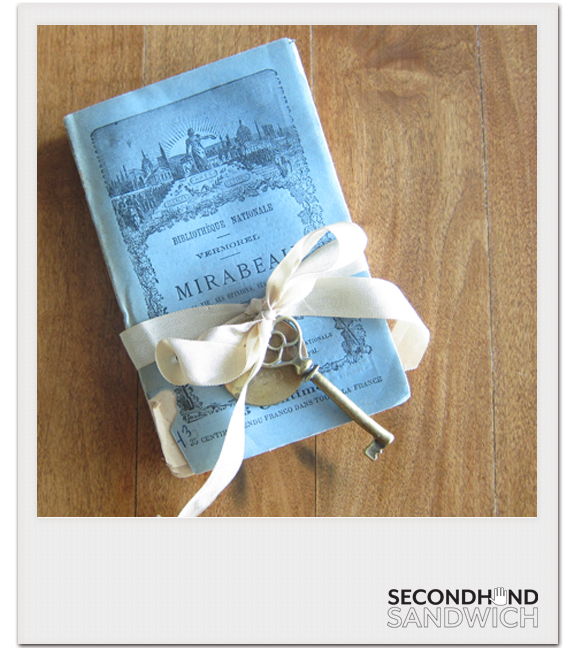
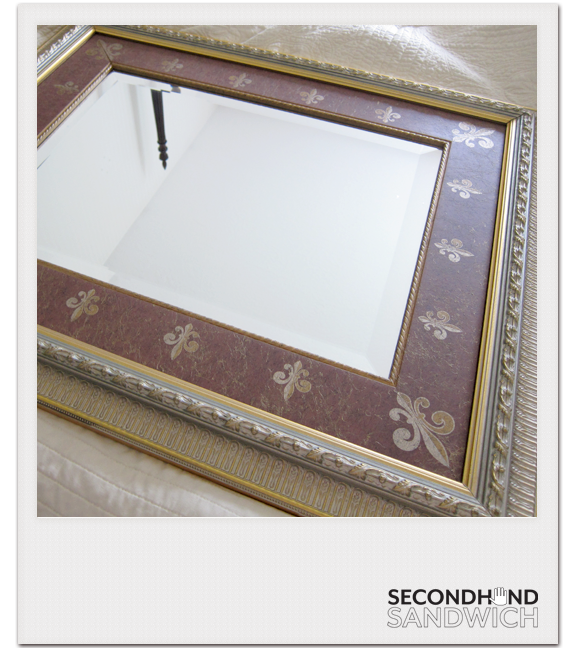
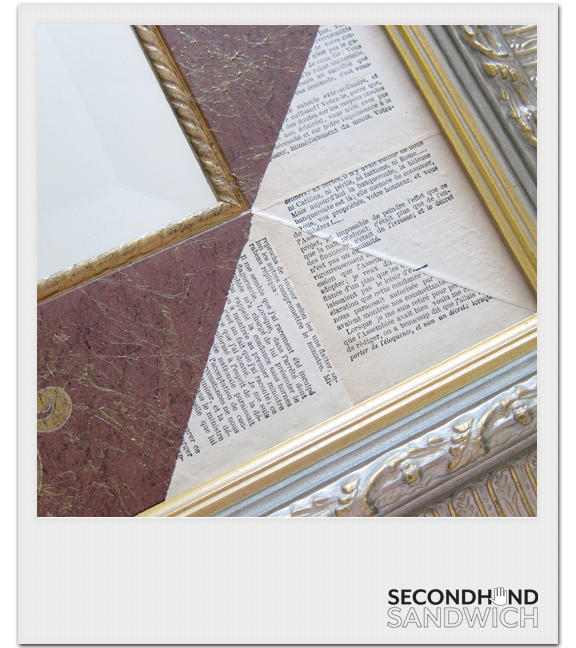
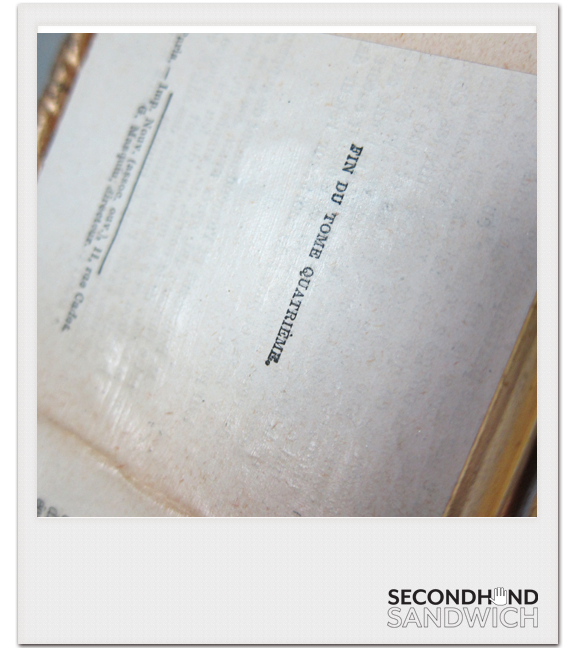
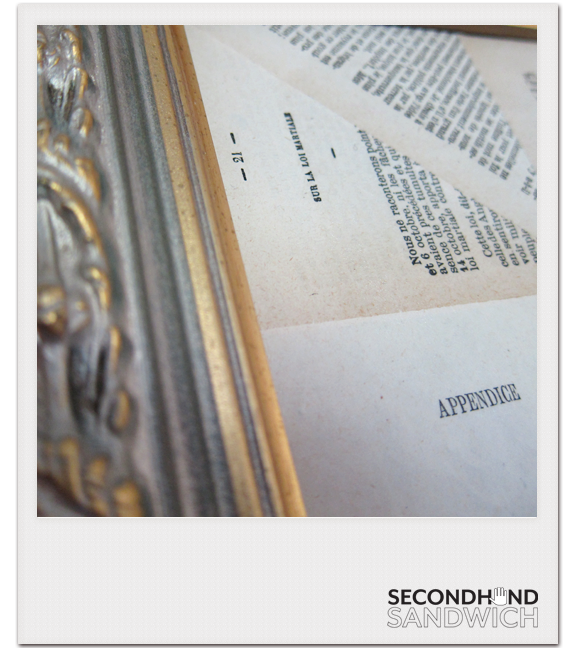
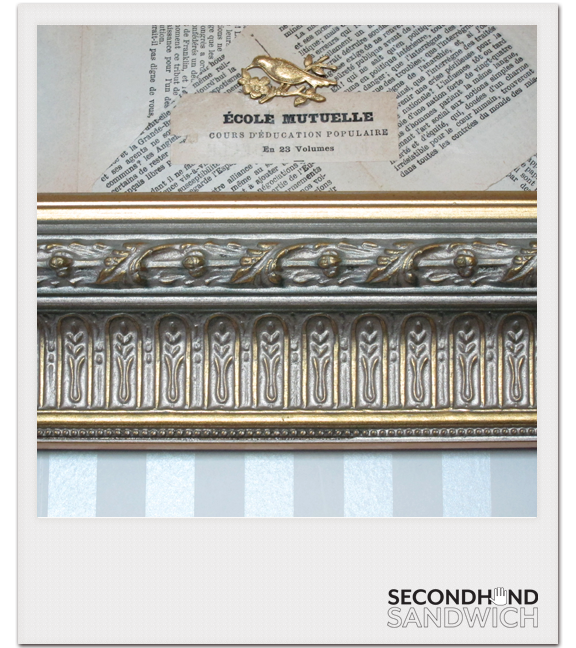
I got this mirror from Santa in 1998. Santa was Greg's mom. I realized, after staring at it for a week on bedrest in April, that the purple mat was killing my chi and fenging my shui and causing me to hate my bedroom. So I glued pages from this little French book on it and now I love it again. Don't worry, I saved the old key and metal French hotel tag and tied them on a candlestick in another room. I don't waste minutia, especially French minutia!

All I did: trim pages, glue on with gluestick, let dry, paint a thin layer of matte Mod Podge over the top, glue on gold bird a.k.a. "the cherry on top". Voila! It doesn't get any easier than this!

*the French book was a gift but the giver told me they got it on Etsy; gold bird gifted by Emily Southerland, my friend in Missouri who I'm certain has glitter in her soul

Wednesday
May082013

Window Seat from Old Door $56

Old Solid Wood Door Not Like the Cheap Doors Around Today: free

Hinges, Triangular Braces, Shop Tools: free due to my kickin' family tree

Spray paint: $6

Particle board: $2

Upholstery Foam: $42

Fabric: $6

I was driving through The Village a few years ago when this door was on the curb for trash pickup. It was sweet ol' Mel Bowman's door. (His funeral was three days ago.) I pulled over and knocked on his front door and asked if he cared if I took it. He didn't.

I had plans to find legs for it to make a narrow harvest table for our patio. Turned legs are expensive, even at thrift stores. I am not going to spend $80 on legs for a free table.

So I asked my sister Cristall to chop it all to pieces in her husband's shop while he was on a camping trip. She's a whiz with the table saw. We trimmed it right up to make a window seat for RE's bedroom and put it together loosely with the old hinges.

Cristall's husband, Harper, is a full-fledged construction genius and he built me some triangular braces to secure everything from the back. If there were a window seat code this thing would pass with flying colors.

RE spray painted it antique white and then we bought a scrap of particle board at Home Depot for $2.01 and had it trimmed to the exact size of the top. This way all her weight only rests on the thick part of the door, not that flimsy middle section. That also got sprayed.

This would have been an $8 project if upholstery foam didn't cost the equivalent of a college education. This piece of 4" foam cost $40 with a 50% off coupon at Jo-Ann Fabrics.

We covered the dreamy, plush foam with some polka dot upholstery fabric I bought at DI for $6. It was just enough fabric to make two slipcovers, which is lucky since I botched the first one and had to make a second one. I'm not kidding- I had half an inch of fabric left after I completed the second slipcover. These kind of things affirm that I'm being watched over. Lucy approves of the 4" foam and is glad we didn't scrimp and get the 3". You'd be surprised how much an inch of foam adds as far as comfort goes. 

RE's bedroom is on the 2nd story of our home and our little lilac bush (that we planted for our 5th anniversary) is now 11 years old and has surpassed the height of the 2nd story. RE can curl up on her window seat with a blanket and read books against a wall of blossoming lilacs. They smell good, too. I can't believe our lilac bush is almost as tall as our house. Crazy.

But not as crazy as an almost-free window seat from a door off the street. I love people's trash!