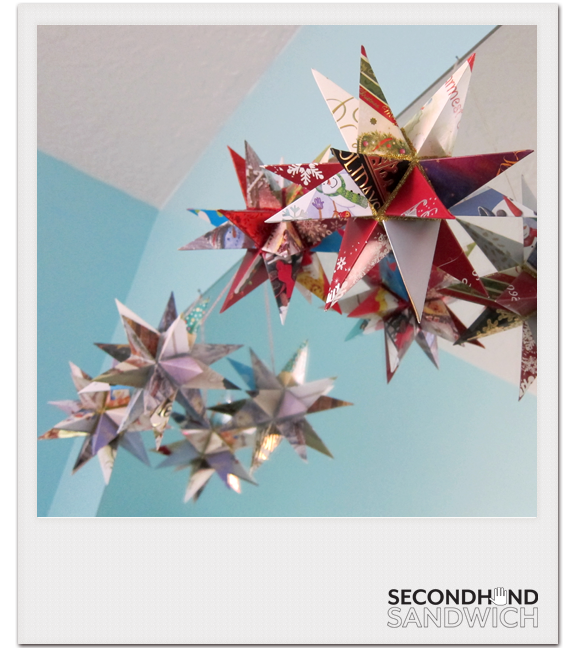
20-Point Stars from Old Christmas Cards $0
Supplies needed:
At least 10 old Christmas cards, thicker than cardstock
One piece of letter-sized cardstock
Scrap of string
Glitter puff paint
Small paintbrush
Elmer's Contact Cement
Scoring Blade/Bone Folder/Back of Your Scissor Blade + Ruler
Scissors
Hot Glue Gun
(These are all things I had on hand. Now that I've made ten stars I had to buy new glitter paint. It was $3.)
I got this idea from jennyharada.com and she has a tutorial on her website here.
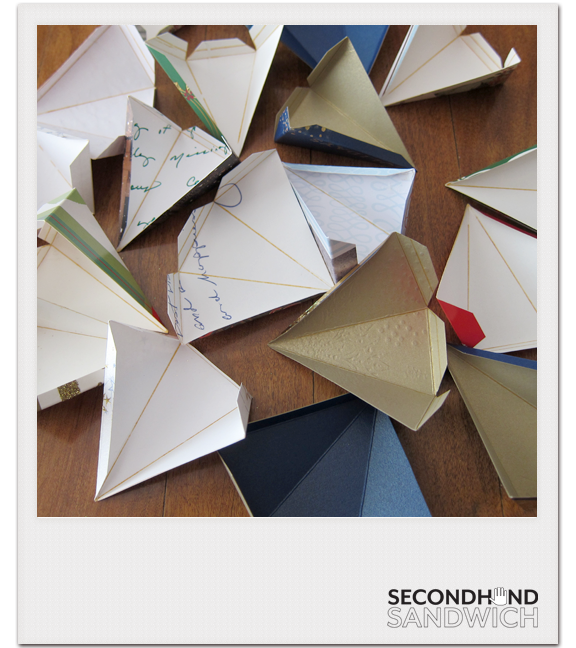
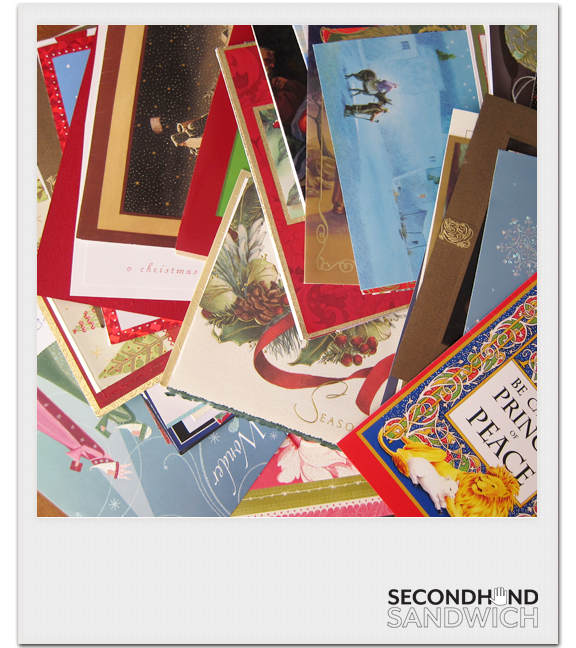
Gather your old Christmas cards. You can't keep them forever. (I find real cards are becoming scarce since most people send photo cards, so I ask doctors' offices and our mayor for all of their old cards. My sister Suzette even had her mother-in-law send me a huge envelope of them from Florida. It was one of the more exciting days of my life when I opened that envelope.)
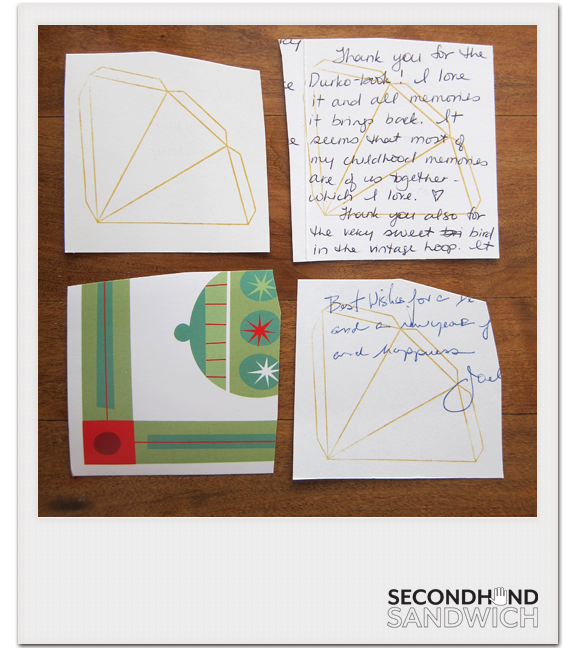
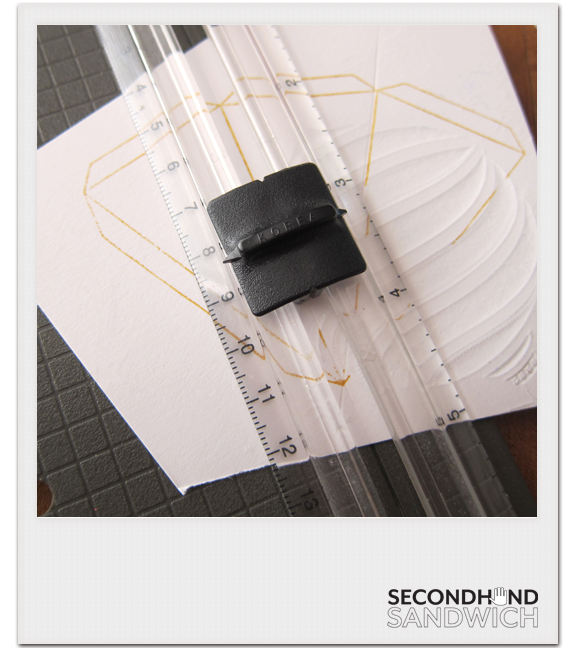
Trace the "starpoint" template (available on her website) on the back of your Christmas cards. If the card has something really unique (neat image, embossing, glittered detail, etc) I center the template over it. You want your star to be made from the best parts of every card. Trace 20 starpoints. Score them and cut them out. They will fold into little mini pyramids.
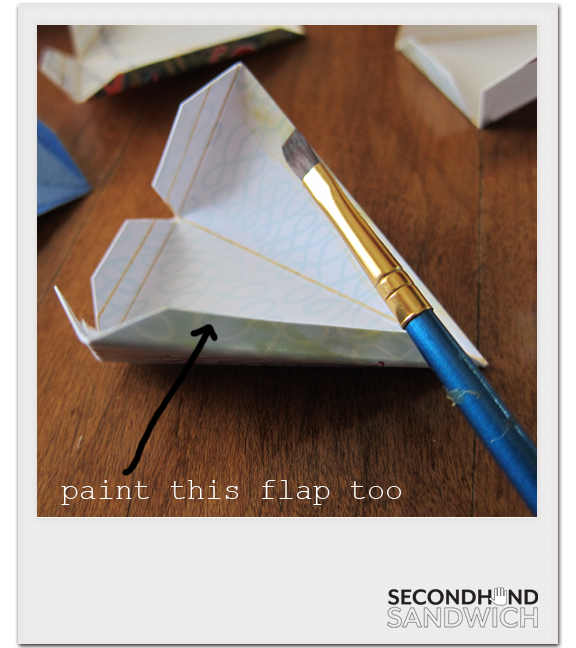
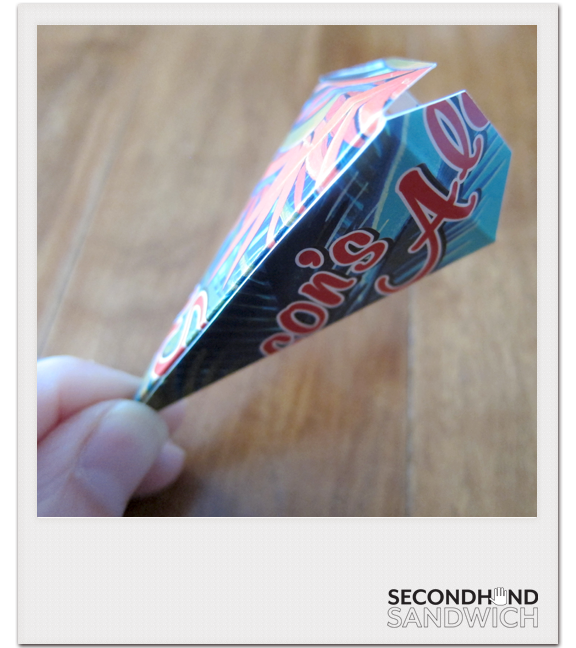
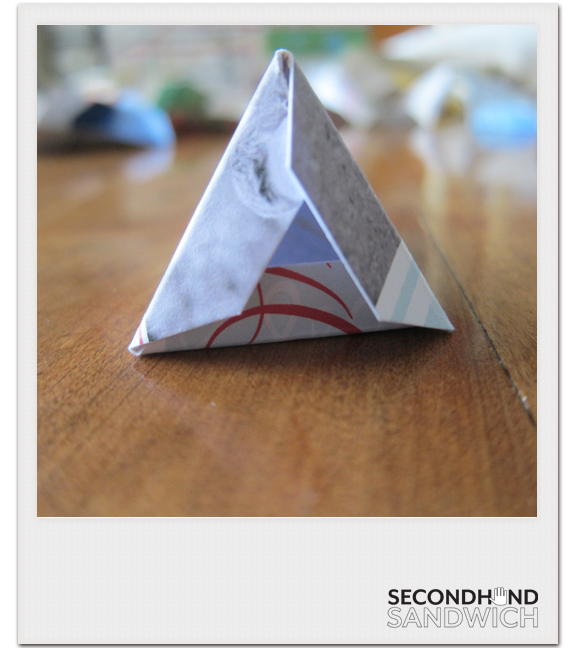
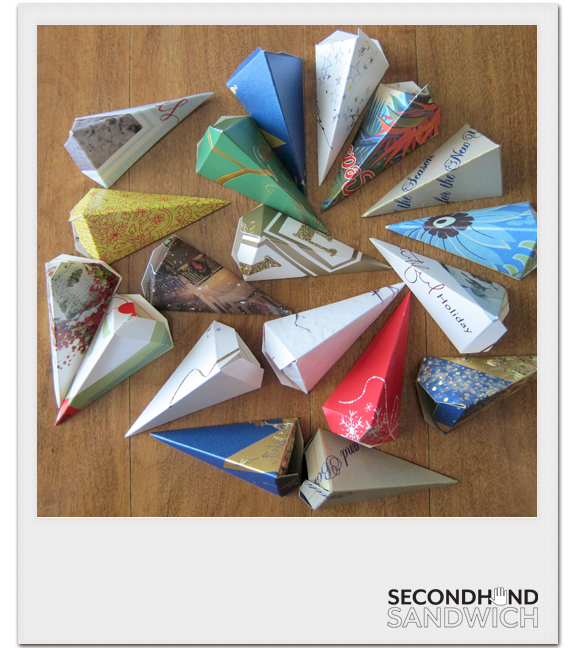
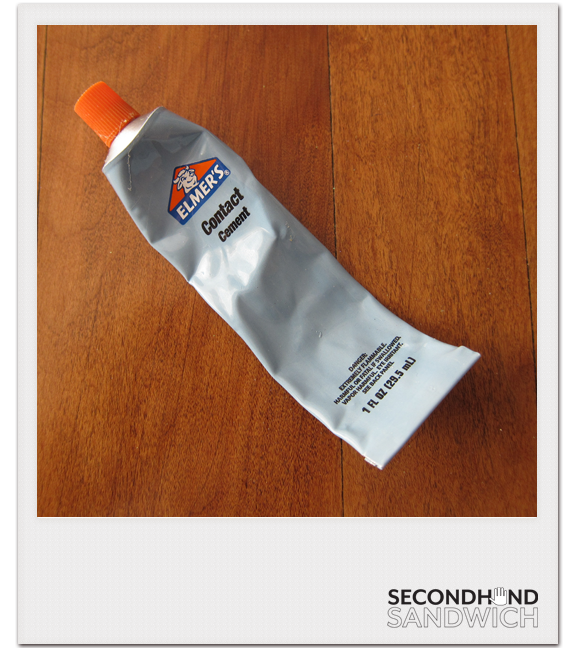
This is important: I have tried every glue under the sun and the ONLY glue that works for me is Elmer's Contact Cement. I found mine at Office Depot. (If you try this and use a different glue, please leave a comment saying what it is!) It works like rubber cement. Paint the flap and paint the inside of the starpoint where the flap will stick. Let both sides dry. Press together. (It is permanent from the second you touch the two sides together, so make sure you are aligned before you press.)
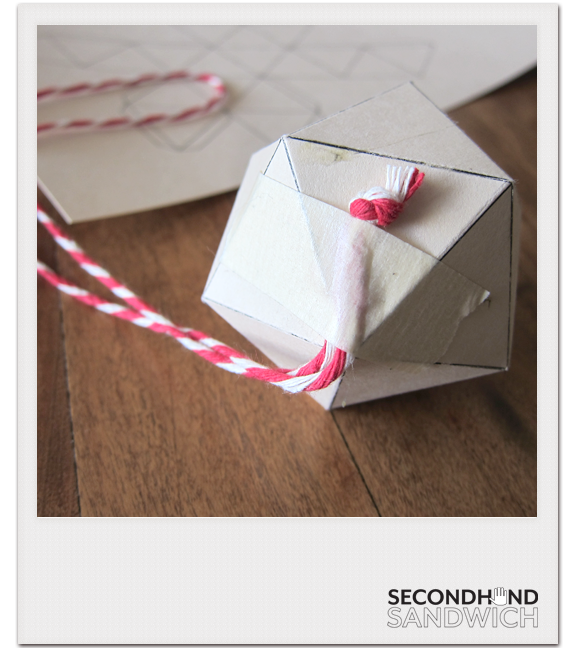
Now you are ready to make the 20-sided inner ball that the pyramids will glue to. I don't know the techincal term for a 20-sided object, but I'm sure all the guys that played Dungeons & Dragons do. Ask one of them.
Print the "starbody" template from jennyharada's website on cardstock, score it, cut it out. Using the contact cement glue a few flaps at a time until your ball is formed. I usually do the center band and finish with the top. You will not see this ball at all, so don't worry if you mangle it or it if looks ugly. If you have to tape the last flap that's okay.
Take your scrap of string, tie the ends in a knot, and tape it to the ball above the knot. (I always place my knot in the middle of a triangle so that it will be hidden inside a pyramid. You just want the end of the string to be at a vertex so it can hang correctly.)
Also, the contact cement is lethal and I have to throw away my paintbrush when I'm all done with a star. So use cheap brushes. Don't be like me and use your Windsor-Newton brush that you got in college and babied for ten years. You'll be sad when you have to throw it away.
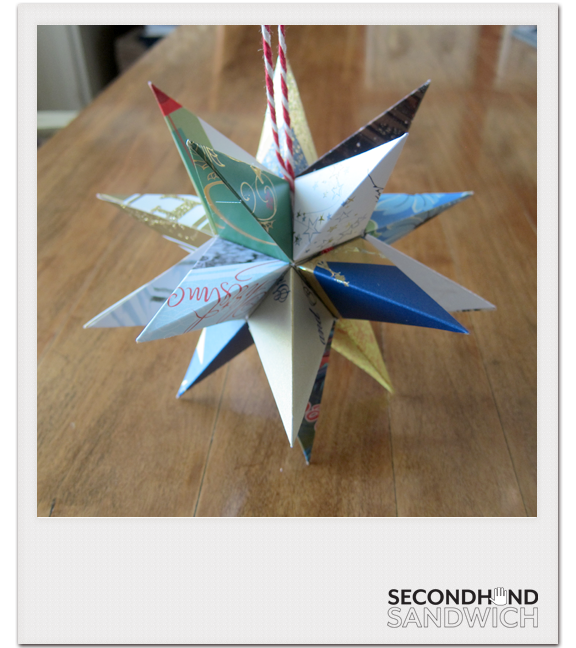
Using hot glue, glue one pyramid at a time to the center ball. I squeeze a triangle of hot glue on the starbody and press the pyramid onto it. Make sure you keep your string outstretched and don't accidentally cover it up!
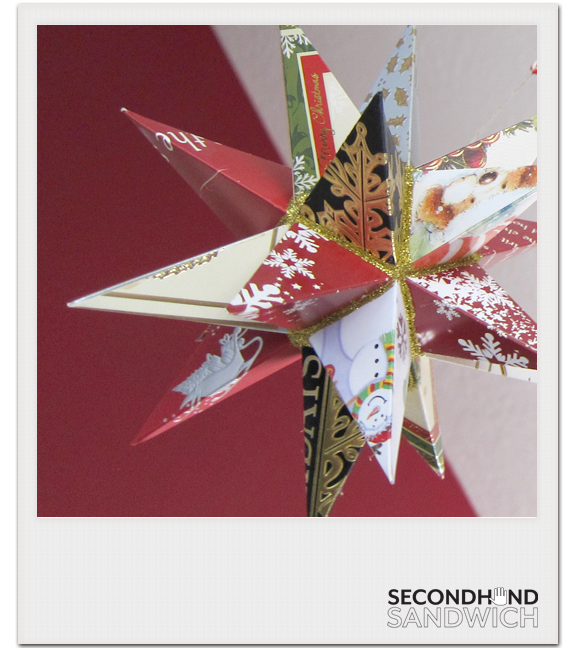
After you have glued on all 20 pyramids "caulk" the seams with glittery puff paint and let dry. The puff paint hides all manner of sins and really finishes the star. I use Elmers' 3D Glitter Paint, available for $6 at Walmart and other office supply stores in a 5-pack of colors. Other "glitter glues" dry flat, not puffy, so they don't act like caulk and hide everything.
Ta-da! I wrap my stars in tissue paper and put them in their own box for storage.

 Melissa Durkovich Lawson
Reader Comments (1)
WHAT?! I just love LOVE love!!! these!!!! -- now, they might be beyond my abilities. but I'm going to give them my very best try. My favorite personal pinterest board of late is "Upcycle Baby" and I just pinned the project with the VERY BEST intentions of giving this 20-point star my best efforts. Thanks for the great tutorial!