ReDEUX: second-hand objects enjoying a second life

ReDEUX projects generally cost no money.

ReDEUX projects have caused me to knock on strange doors and ask for people's trash off the street.

ReDEUX projects make me happier than anything.

Objects always have the potential to be repurposed.

Entries in What To do With Old Christmas Cards (4)

Friday
Nov302012

Coaster Wreath From Old Christmas Cards $0


Remember my affinity for coasters? I still had a stash of square Texas Roadhouse ones. I was looking through my THINGS TO MAKE folder and found this ripped out page from a Williams-Sonoma catalog:

 I realized that I could make this in a Christmas motif with stuff I already had.


    Materials needed:

    Coasters, square or circular (I used 36)

    Old Christmas cards, especially ones with 3-D objects or embossing or foiling

    Stapler, Scissors, Adhesive

    Acrylic Paint, Paintbrush AND/OR Spray Paint

    Cute Twine


1. Cut shapes out of the cards. I went for anything with textured, 3D, embellished, embossed, or foiled areas.

 2. Arrange the coasters in a loose circle to figure out the size of wreath you can make. Staple the coasters together any way you want.

3. Spray paint the back of the wreath (in case you hang it in a window or something).

4. Paint the front of the wreath if you need to. Only the edges will end up showing, but I had the paint and used it.

5. Punch holes around the wreath and lace with twine. (Like a giant lacing card!)

6. Adhere the pieces of Christmas cards in layers. I used Terrifically Tacky Tape for the flat layer and some foamy raised tape for the pieces that stick out.


I think Anthropologie should hire me to make these for them and that they should retail for $268. Except that this took me two days to make. If a card you sent me is on the wreath: thank you!  

Tuesday
Nov202012

"Merry Christmas" Garland from Old Christmas Cards $0


This one is super easy. You just have to crop old Christmas cards!

I had a corduroy alphabet sticker set that I used for the letters, but you could just as easily print letters on your computer or stamp them. I mounted each letter to a piece of cardstock and then double-mounted that onto old Christmas cards. Set eyelets in the corners (or just punch a hole) and string some waxed floss or whatever thready-type stuff you want through the holes! It's a hodge-podge way to showcase all the neat cards people send.

Tuesday
Nov202012

Hemstitched Bucket from Old Christmas Cards $0


I glued Christmas cards back-to-back and then created a template that would make a 6-sided bucket. I tapered the ends a little so it would open like a popcorn bucket. To make the bottom piece I just measured the base of the tall piece and created a hexagon with that same length on each side. Once you have six wall pieces and a base hexagon punch holes all along the perimeter. I have a little hand punch that I used that makes a hole 1/8" wide.

After all the holes are punched you hemstitch them. Hemstitching is like mini-crochet. I learned at a class at church, but I'm sure you can google it. Just pretend the Christmas cards are flannel and that you are edging a little burp cloth. All I did was two single crochets in each hole with an extra chain to help me reach the next hole. Super easy. And I know there are great tutorials online for single crochet. You just use hemstitching yarn (it's skinnier than regular yarn) and the tiniest crochet hook (a #1 hook).

Once you have crocheted every piece whipstitch the pieces together with the same yarn. I only attached the base on one side so that the bucket could fold flat for storage.

I just like making things with junk while I watch TV. I put our napkins in this bucket on the kitchen table for the month of December. Once I put shiny bulbs in it. Pinecones would be neat. Or candy.

Friday
Aug102012

20-Point Stars from Old Christmas Cards $0

Supplies needed:

At least 10 old Christmas cards, thicker than cardstock

One piece of letter-sized cardstock

Scrap of string

Glitter puff paint

Small paintbrush

Elmer's Contact Cement

Scoring Blade/Bone Folder/Back of Your Scissor Blade + Ruler

Scissors

Hot Glue Gun

(These are all things I had on hand. Now that I've made ten stars I had to buy new glitter paint. It was $3.)

I got this idea from jennyharada.com and she has a tutorial on her website here.


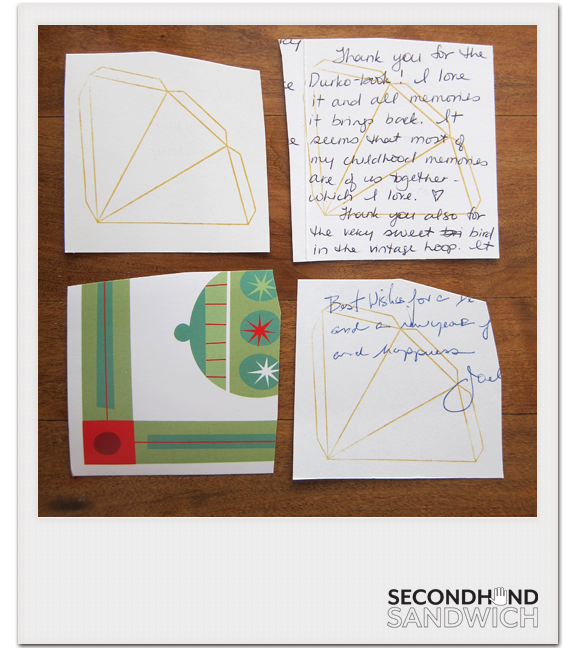
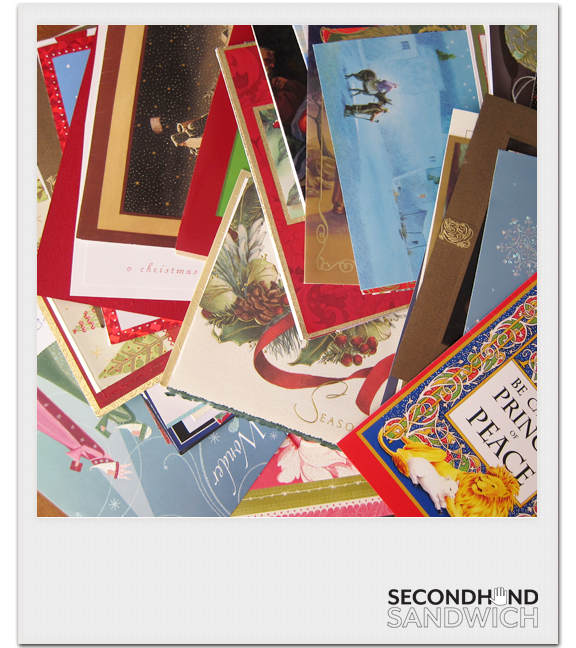
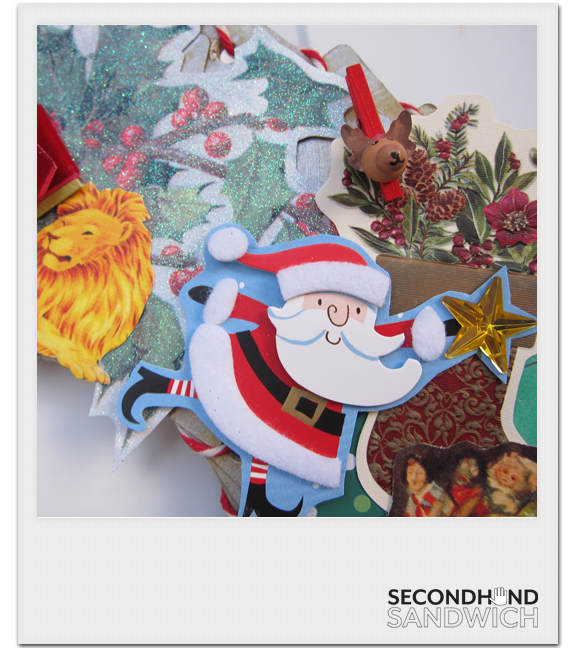
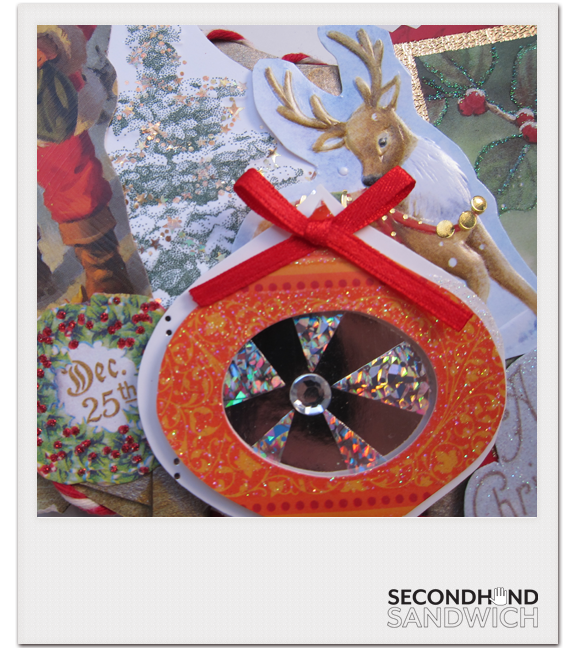
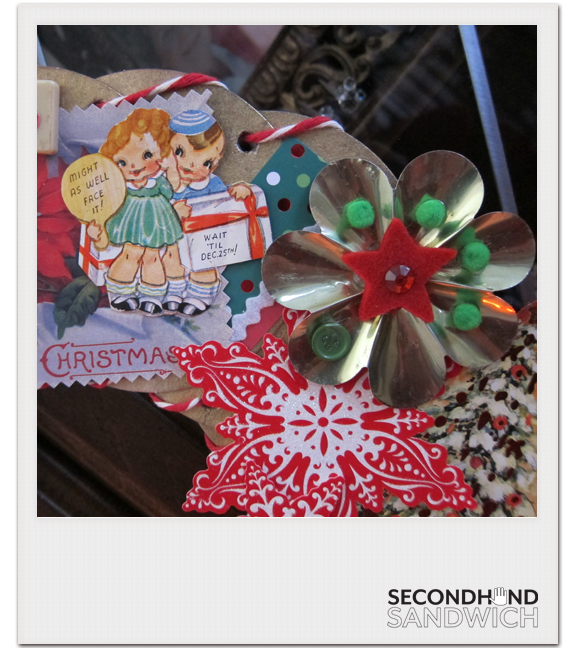
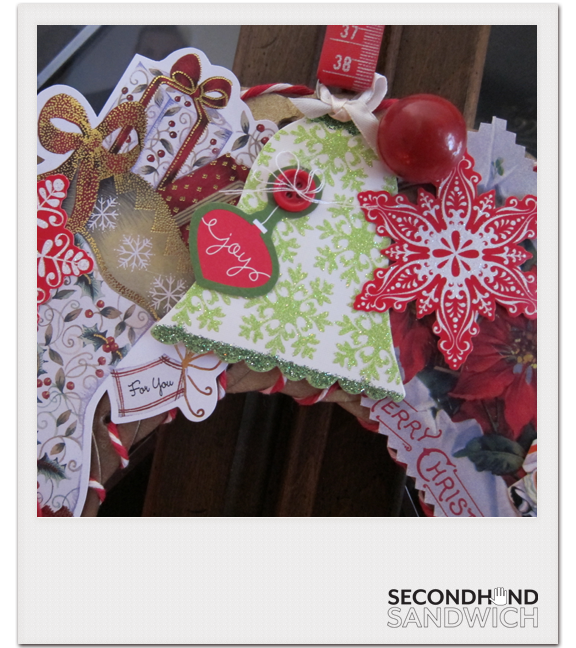
Gather your old Christmas cards. You can't keep them forever. (I find real cards are becoming scarce since most people send photo cards, so I ask doctors' offices and our mayor for all of their old cards. My sister Suzette even had her mother-in-law send me a huge envelope of them from Florida. It was one of the more exciting days of my life when I opened that envelope.)

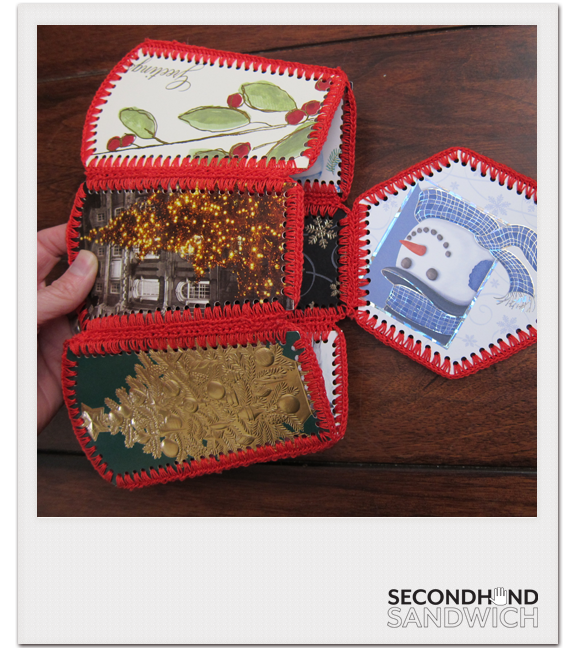
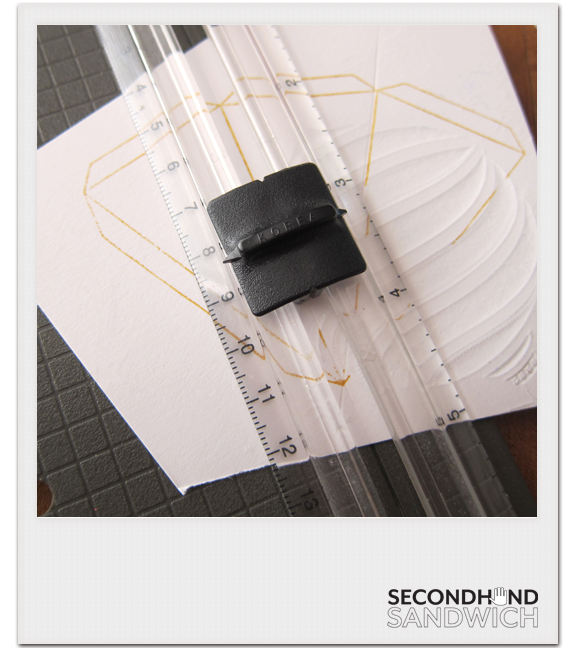
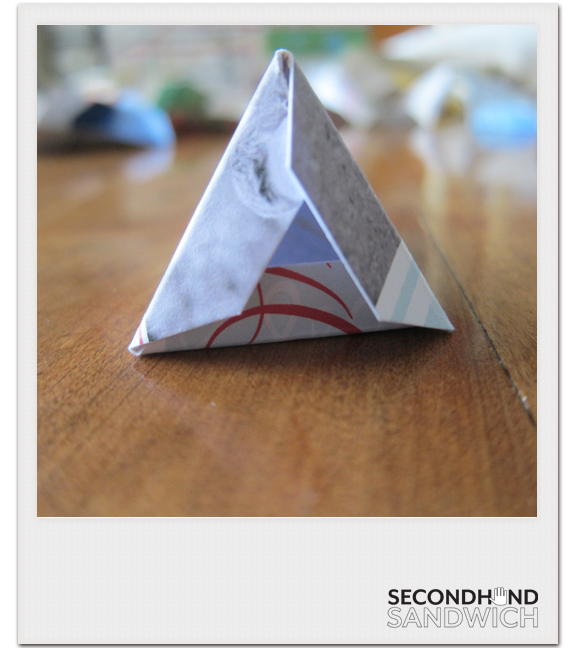
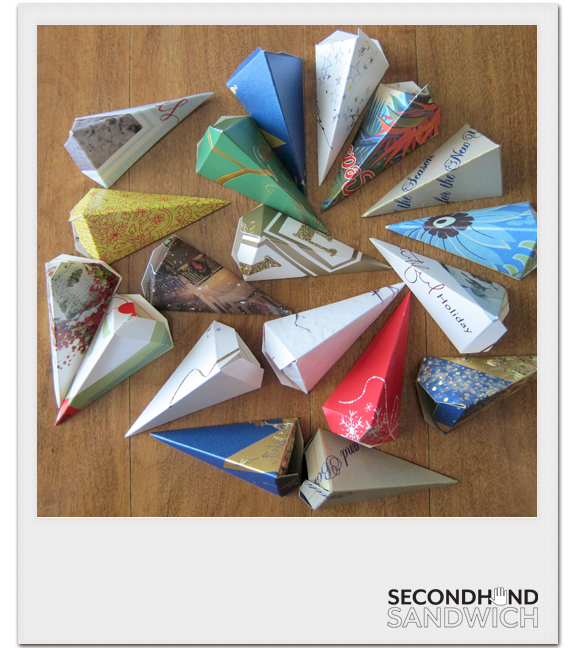
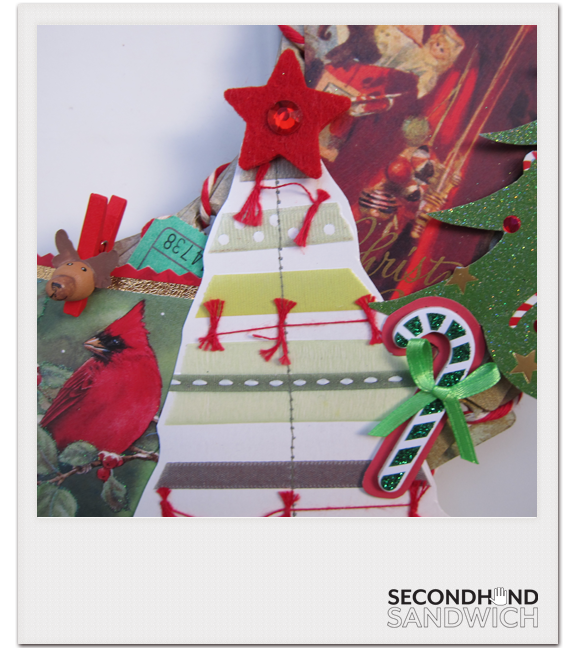
Trace the "starpoint" template (available on her website) on the back of your Christmas cards. If the card has something really unique (neat image, embossing, glittered detail, etc) I center the template over it. You want your star to be made from the best parts of every card. Trace 20 starpoints. Score them and cut them out. They will fold into little mini pyramids.

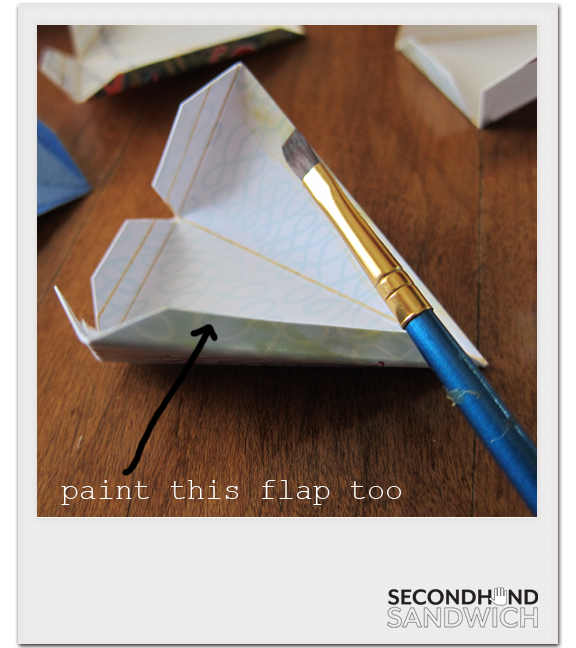
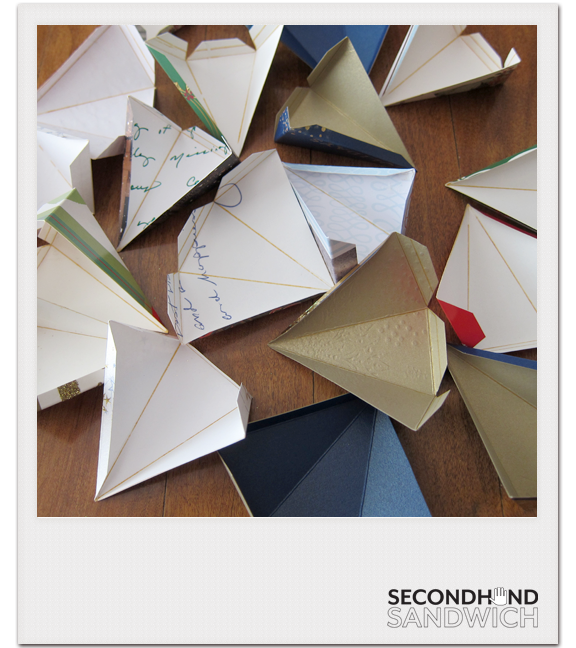
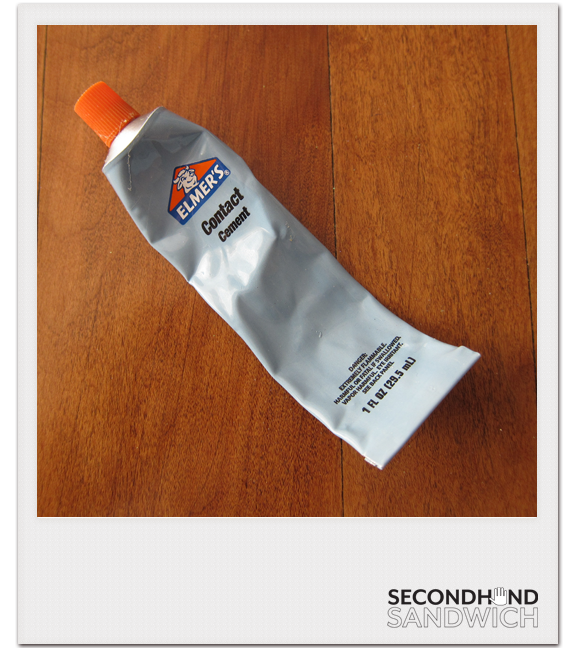
This is important: I have tried every glue under the sun and the ONLY glue that works for me is Elmer's Contact Cement. I found mine at Office Depot. (If you try this and use a different glue, please leave a comment saying what it is!) It works like rubber cement. Paint the flap and paint the inside of the starpoint where the flap will stick. Let both sides dry. Press together. (It is permanent from the second you touch the two sides together, so make sure you are aligned before you press.)

Now you are ready to make the 20-sided inner ball that the pyramids will glue to. I don't know the techincal term for a 20-sided object, but I'm sure all the guys that played Dungeons & Dragons do. Ask one of them.

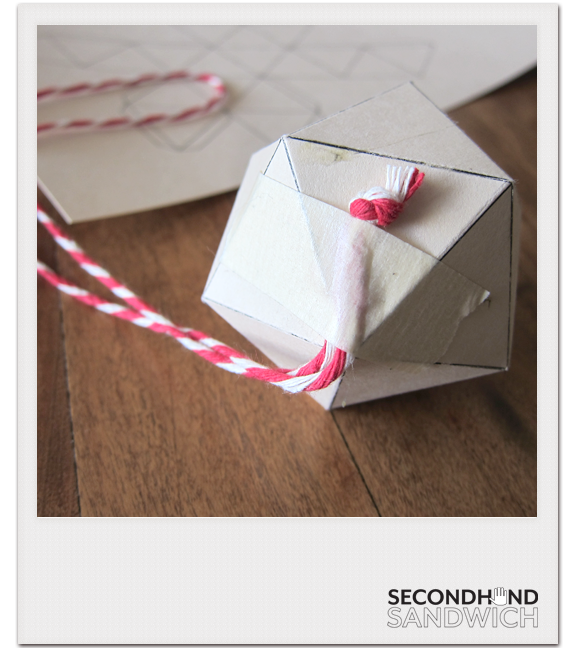
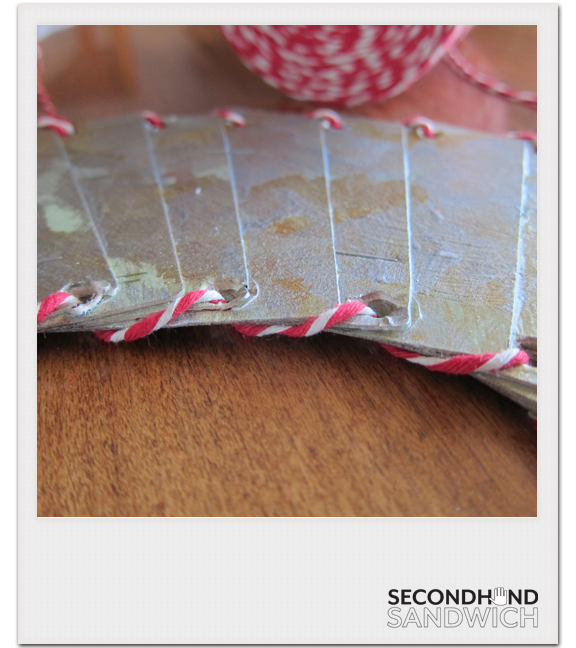
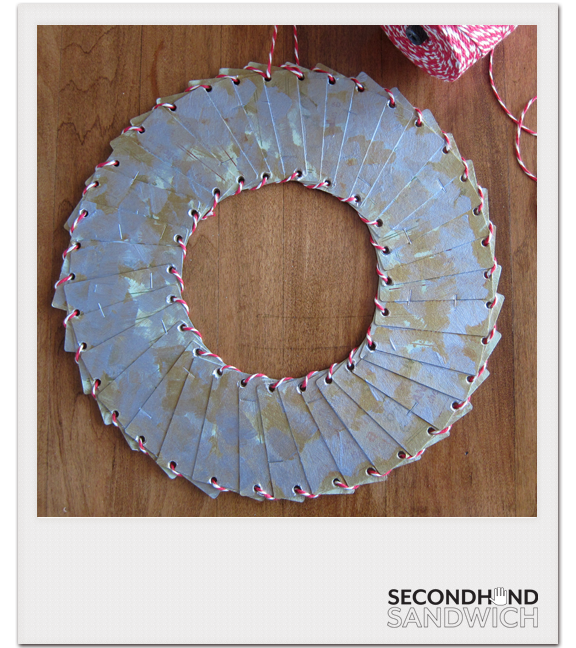
Print the "starbody" template from jennyharada's website on cardstock, score it, cut it out. Using the contact cement glue a few flaps at a time until your ball is formed. I usually do the center band and finish with the top. You will not see this ball at all, so don't worry if you mangle it or it if looks ugly. If you have to tape the last flap that's okay.

Take your scrap of string, tie the ends in a knot, and tape it to the ball above the knot. (I always place my knot in the middle of a triangle so that it will be hidden inside a pyramid. You just want the end of the string to be at a vertex so it can hang correctly.)

Also, the contact cement is lethal and I have to throw away my paintbrush when I'm all done with a star. So use cheap brushes. Don't be like me and use your Windsor-Newton brush that you got in college and babied for ten years. You'll be sad when you have to throw it away.

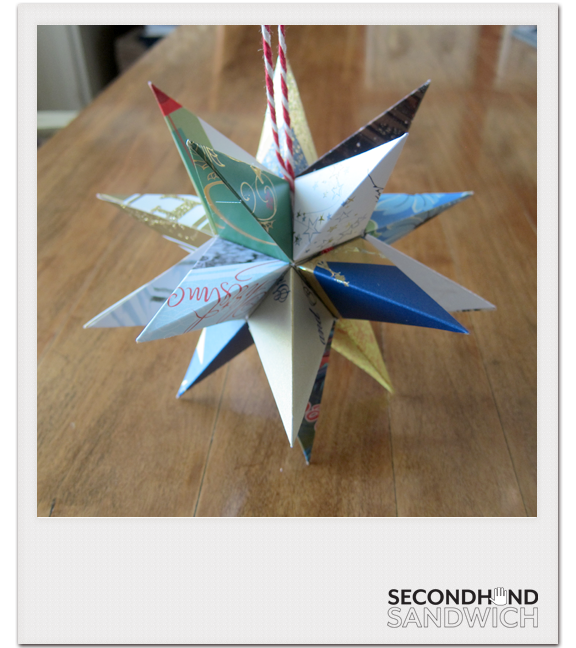
Using hot glue, glue one pyramid at a time to the center ball. I squeeze a triangle of hot glue on the starbody and press the pyramid onto it. Make sure you keep your string outstretched and don't accidentally cover it up!

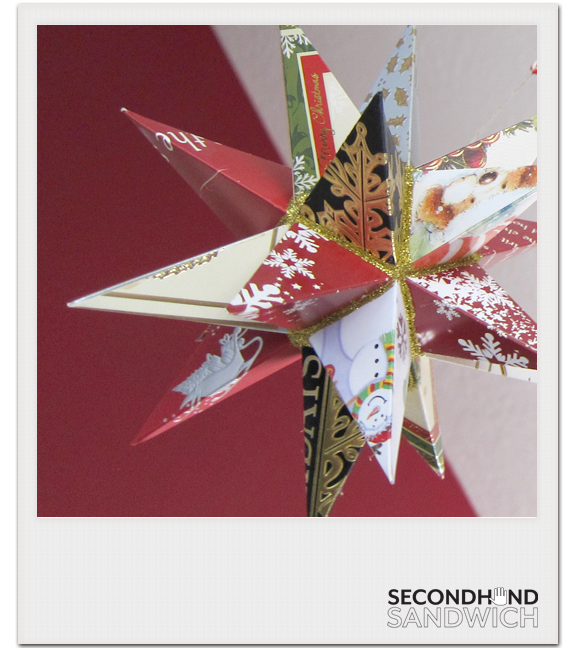
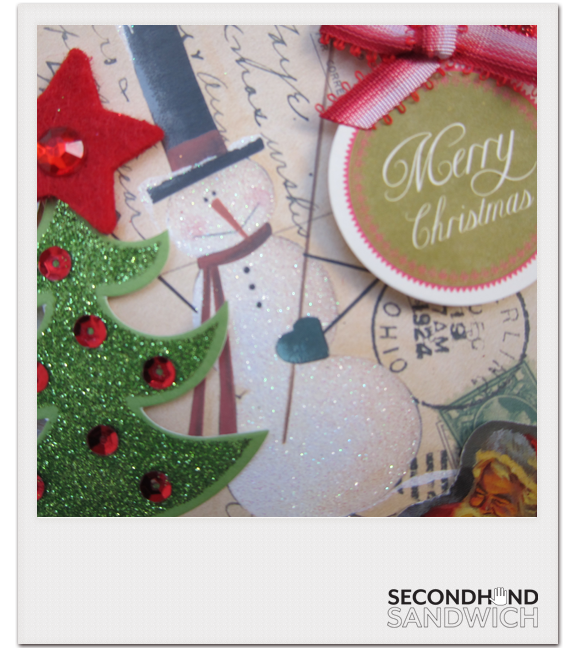
After you have glued on all 20 pyramids "caulk" the seams with glittery puff paint and let dry. The puff paint hides all manner of sins and really finishes the star. I use Elmers' 3D Glitter Paint, available for $6 at Walmart and other office supply stores in a 5-pack of colors. Other "glitter glues" dry flat, not puffy, so they don't act like caulk and hide everything.

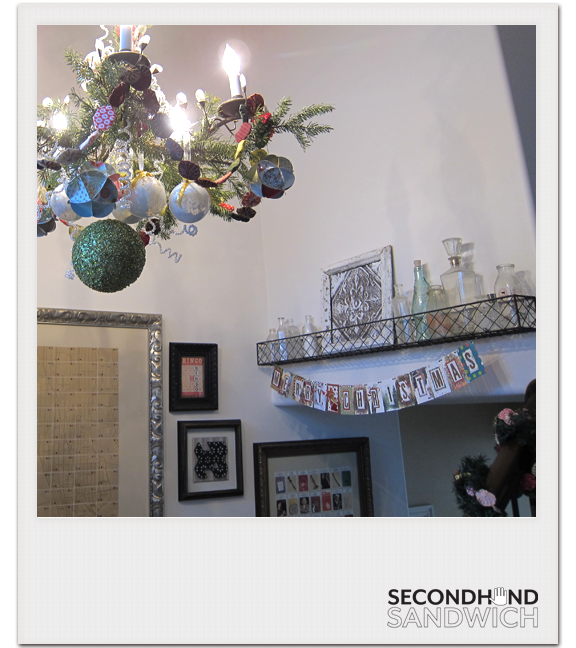
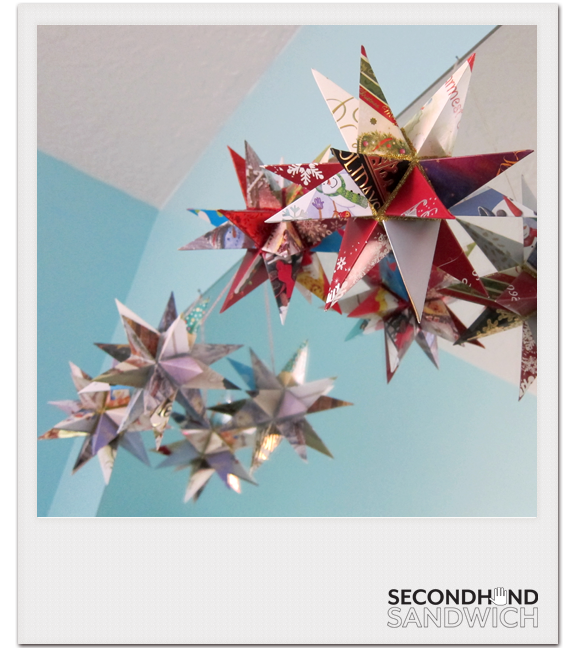
Ta-da! I wrap my stars in tissue paper and put them in their own box for storage.