ReDEUX: second-hand objects enjoying a second life

ReDEUX projects generally cost no money.

ReDEUX projects have caused me to knock on strange doors and ask for people's trash off the street.

ReDEUX projects make me happier than anything.

Objects always have the potential to be repurposed.

Entries in Christmas (10)

Thursday
Nov152012

12 Days of Christmas Ornaments <$5

I have a group of girlfriends and we meet the third Wednesday of every month to craft. We have been doing this for several years. It's like the Friday Night Knitting Club except it's on Wednesdays and we don't knit (although we've discussed learning how). We used to make cards, and then we made mini cards, and then we decided to do a big year-long project. All I know is that I need that one night a month. I think I can safely say craft nights enhance friendships and save marriages.

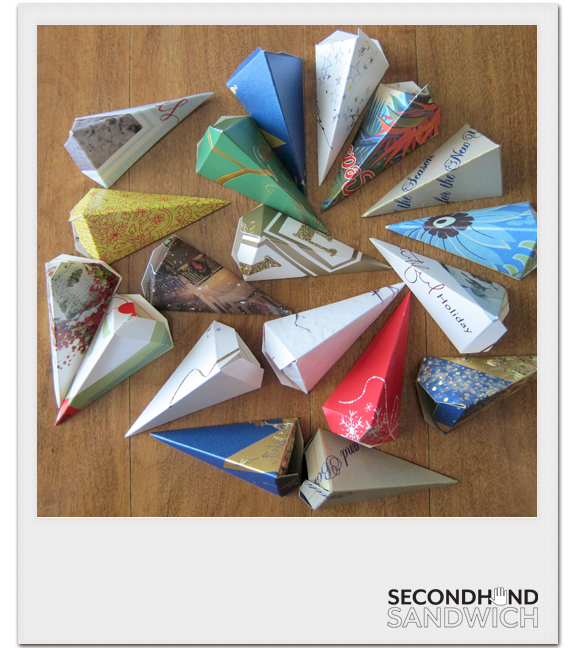
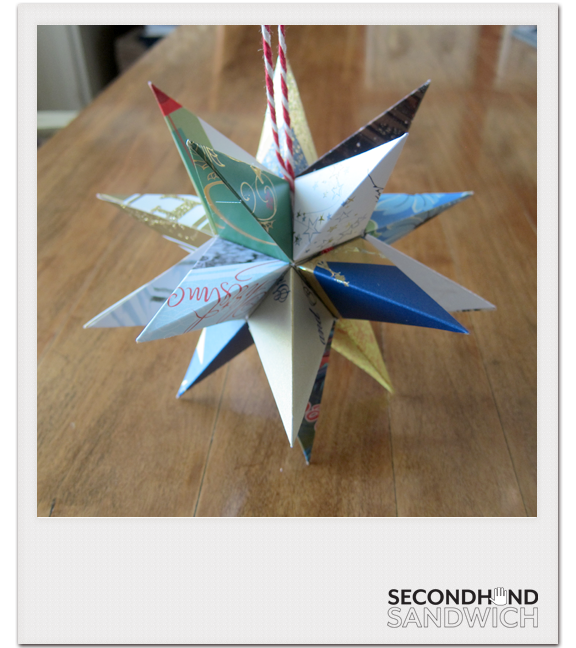
Anyways, our big year-long project was to create a set of ornaments illustrating the 12 Days of Christmas. I had seen a set in Ballard Designs but wasn't about to pay what they were asking. Chipboard was all the rage, but we're cheap, so I went to the Olive Garden and kindly asked the manager for 750 coasters. He eventually gave them to me (and asked me to never come back to his restaurant) and we used them for the structure of each ornament.


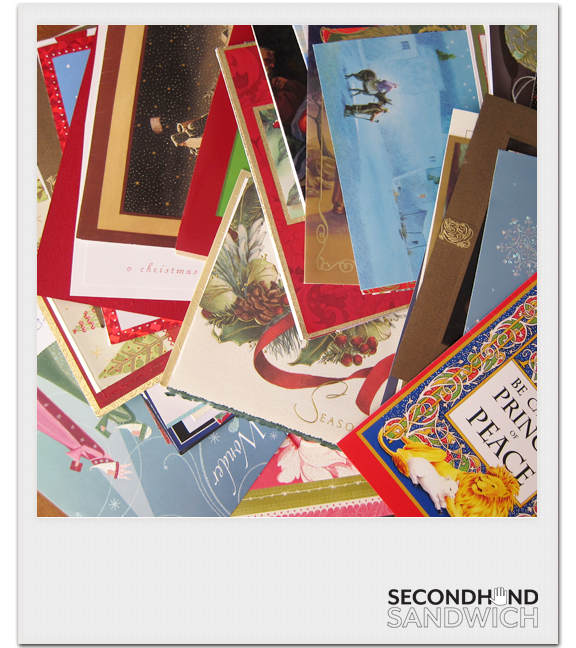
We pooled our resources to make each ornament. The backgrounds were scrapbook paper, sheet music, French etchings of cows from Mary's grandma's old books, scans of postage stamps, etc. We just found stuff we could use. Jonna used her Cricut to cut out the flutes and the lords-a-leapin'. We had punches for the turtledoves. We had birdcage stamps and partridge stamps (okay, it's a quail) and Spanish moss and glitter. Turns out that Michelle was a whiz at hot melting bird nests. Jaime worked her digital magic on the numbered side of the ornaments. My mother-in-law even cleaned out her basement and gave me a bag of miniature eggs, which worked perfectly for the six geese-a-layin'.

All we had to buy was the strand of pearls (Walmart), the cheap golden rings (party store), and Mary bought real guinea hen feathers for the three French hens. Mary's mom is French, so she's serious about representing France. I'm a huge European poser, so I appreciate representing France as well.


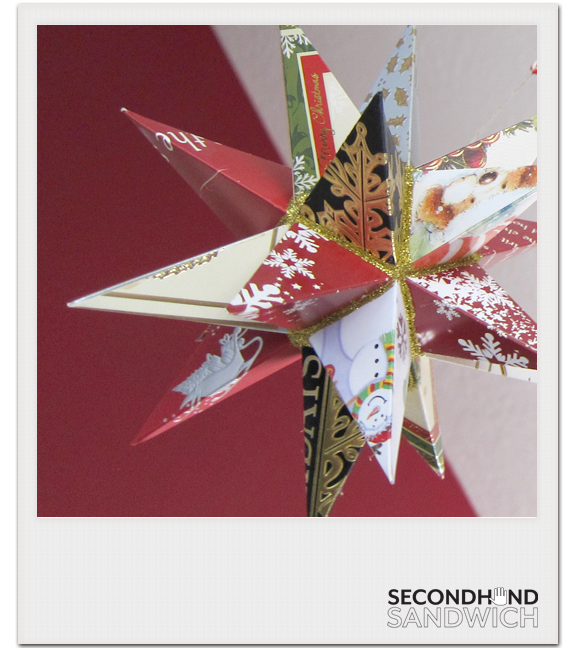
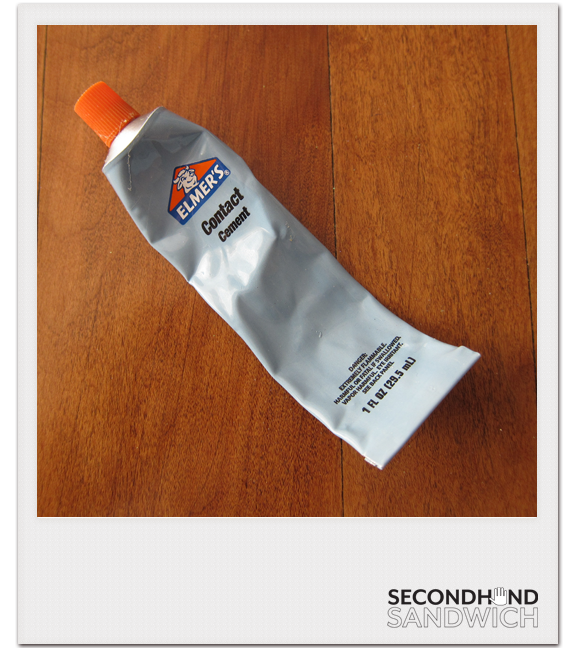
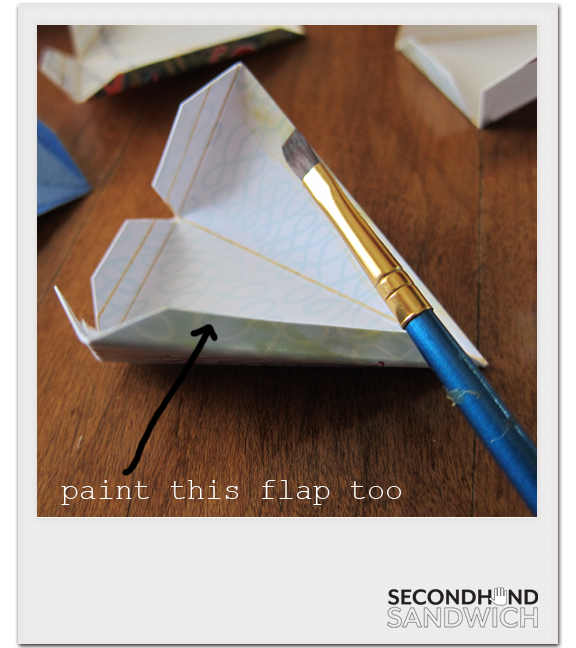
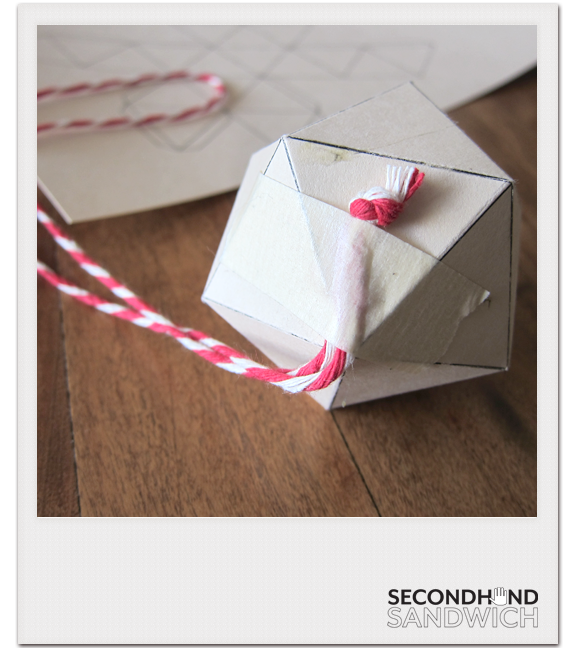
We glued everything right onto the coaster (some did the Xyron, I used Scotch glue sticks because they are my favorite), rolled the edges in Elmer's glue, and then rolled the gluey edges in glitter. Punched a tiny hole up top and tied baker's twine in it. It took the whole year and it was really fun to do.

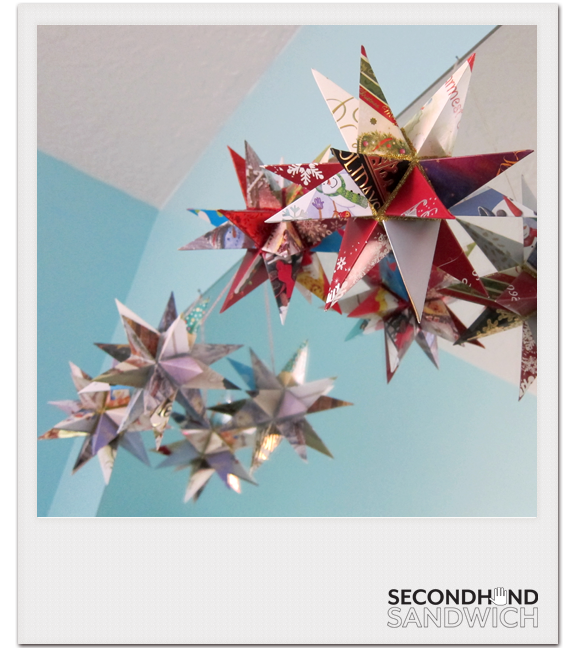
Twelve coasters stack perfectly in this 4" wide circular tin that was $1 at the craft store. There's even room for 12 hooks on top. I hang mine from our dining room chandelier. They twirl and spin and sparkle and I can't help but smile when I remember all the Wednesday nights that we spent making them.

Texas Roadhouse was not at all stingy with their coasters, which were square. I would have done squares but we already had the circular tins.

Sunday
Aug192012

Walnut Manger Ornaments $3

I helped RE make these to give all of her friends at Christmastime. We got walnuts from Charlotte Carson's tree, but you can buy loose walnuts in the produce section for cheap once autumn hits. Crack them carefully, trying to get two really solid halves. Clean them out. Paint the shells gold (spray or acrylic). We bought a 12-pack of Mardi Gras King Cake Baby Dolls for $2.99 at Partyland to use for the baby Jesus. Snip the arms and legs off with wire cutters (the plastic babies are too big to fit in a walnut half). Wrap the baby in scraps of fabric (I had a little french ticking left) and glue to inside of walnut shell. Hot glue scraps of trim around the perimeter of the shell. Her little gift tags said GOOD THINGS COME IN SMALL PACKAGES.

My siblings and I always hid a little walnut ornament in the Christmas tree when we were kids. It was a sleeping mouse (whose face was made from an acorn) in a walnut bed with a patchwork quilt tucking him in. So cute. I loved hiding the walnut.

Friday
Aug102012

20-Point Stars from Old Christmas Cards $0

Supplies needed:

At least 10 old Christmas cards, thicker than cardstock

One piece of letter-sized cardstock

Scrap of string

Glitter puff paint

Small paintbrush

Elmer's Contact Cement

Scoring Blade/Bone Folder/Back of Your Scissor Blade + Ruler

Scissors

Hot Glue Gun

(These are all things I had on hand. Now that I've made ten stars I had to buy new glitter paint. It was $3.)

I got this idea from jennyharada.com and she has a tutorial on her website here.


Gather your old Christmas cards. You can't keep them forever. (I find real cards are becoming scarce since most people send photo cards, so I ask doctors' offices and our mayor for all of their old cards. My sister Suzette even had her mother-in-law send me a huge envelope of them from Florida. It was one of the more exciting days of my life when I opened that envelope.)

Trace the "starpoint" template (available on her website) on the back of your Christmas cards. If the card has something really unique (neat image, embossing, glittered detail, etc) I center the template over it. You want your star to be made from the best parts of every card. Trace 20 starpoints. Score them and cut them out. They will fold into little mini pyramids.

This is important: I have tried every glue under the sun and the ONLY glue that works for me is Elmer's Contact Cement. I found mine at Office Depot. (If you try this and use a different glue, please leave a comment saying what it is!) It works like rubber cement. Paint the flap and paint the inside of the starpoint where the flap will stick. Let both sides dry. Press together. (It is permanent from the second you touch the two sides together, so make sure you are aligned before you press.)

Now you are ready to make the 20-sided inner ball that the pyramids will glue to. I don't know the techincal term for a 20-sided object, but I'm sure all the guys that played Dungeons & Dragons do. Ask one of them.

Print the "starbody" template from jennyharada's website on cardstock, score it, cut it out. Using the contact cement glue a few flaps at a time until your ball is formed. I usually do the center band and finish with the top. You will not see this ball at all, so don't worry if you mangle it or it if looks ugly. If you have to tape the last flap that's okay.

Take your scrap of string, tie the ends in a knot, and tape it to the ball above the knot. (I always place my knot in the middle of a triangle so that it will be hidden inside a pyramid. You just want the end of the string to be at a vertex so it can hang correctly.)

Also, the contact cement is lethal and I have to throw away my paintbrush when I'm all done with a star. So use cheap brushes. Don't be like me and use your Windsor-Newton brush that you got in college and babied for ten years. You'll be sad when you have to throw it away.

Using hot glue, glue one pyramid at a time to the center ball. I squeeze a triangle of hot glue on the starbody and press the pyramid onto it. Make sure you keep your string outstretched and don't accidentally cover it up!

After you have glued on all 20 pyramids "caulk" the seams with glittery puff paint and let dry. The puff paint hides all manner of sins and really finishes the star. I use Elmers' 3D Glitter Paint, available for $6 at Walmart and other office supply stores in a 5-pack of colors. Other "glitter glues" dry flat, not puffy, so they don't act like caulk and hide everything.

Ta-da! I wrap my stars in tissue paper and put them in their own box for storage.

Thursday
Jun212012

Newspaper Bag Christmas Wreath $0


We used to get three newspapers a day. (We have now simplified to one a day.) There was an excess of newspaper bags in our home (even with our using them as doggie bags on Lucy's walks twice a day).

I had a spare metal circle from a Paper Source wreath kit. (You could form a circle from a metal hanger or wire.) I cut the newspaper bags in half and tied each half on the circle. Right over left, left over right. Once the circle was full of knots I twisted and fluffed the strands so they lay right. I tied a small loop with baker's twine on the circle and pulled it to the back of the wreath so it can hang on our 3M Command hook.

I love that we got a few green bags for my "holly." I love this wreath, even if it's a glorified lei. I like the type on the bags and how it pops off of my white door. My daughter made it with me and was excited to gather the red bags each morning.

We got enough bags for the wreath in a month, but normal people only get one paper a day, so if this is something you'd like to do, start saving your bags soon so it will be finished by Thanksgiving!

Thursday
Jun142012

Postage Stamp Cards $0

Rip off stamps from your mail. Have your neighbors do the same. You'll have a ton in no time.

I made these for my Christmas cards a few years ago. It took almost an entire calendar year to get enough stamps to make 150 cards. Use ribbon scraps to make the wreath bow. The knot is no problem for mailing through the USPS, but if you're worried about it you can put a sheet of cardstock over the top of your card to protect everything.

I used the cancelled stamps I bought at the stamp & coin store for these cards, and I inked rubber alphabet stamps to stamp words, initials, important dates, etc, onto the cards.

One year I made valentines with the cancelled stamps. Just glue a bunch of stamps on top of each other until they resemble a heart and sew a vellum square or cut up sheet protector over the top. I don't know why my corner always puckers when I sew paper. Maybe I need to adjust my tension. Who knows? I don't think any of my recipients cared...

Page 1 2